DLT Registration with Vodafone-Idea
Registration with Vodafone
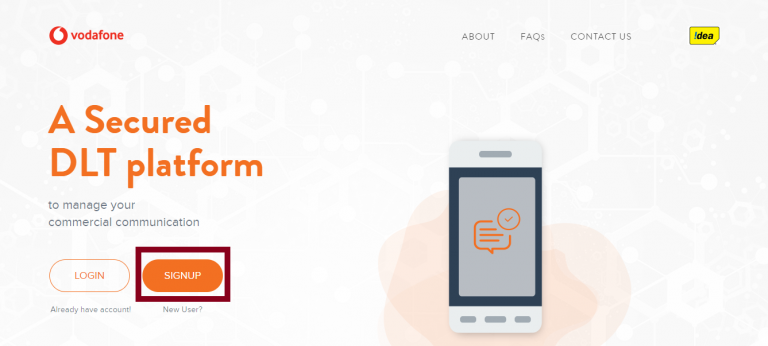
- Visit the link – https://www.vilpower.in/signup.
The page will be displayed as shown in the image below. Click on the Signup button to register in the Vodafone DLT platform.
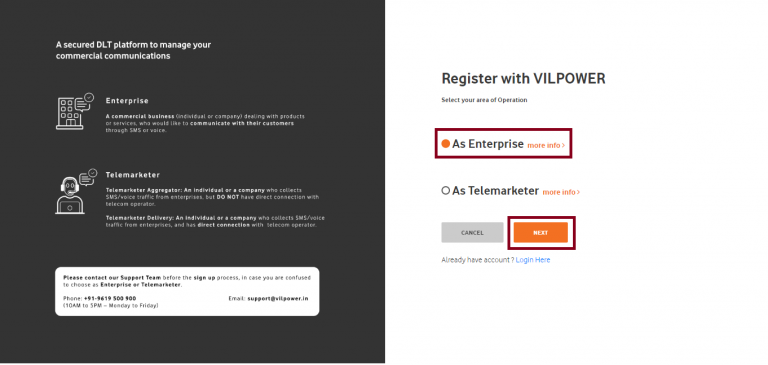
- Upon clicking the Signup button, you will be re-directed to the next page and asked to choose one option between the two. Select the appropriate option and click on the Next button.
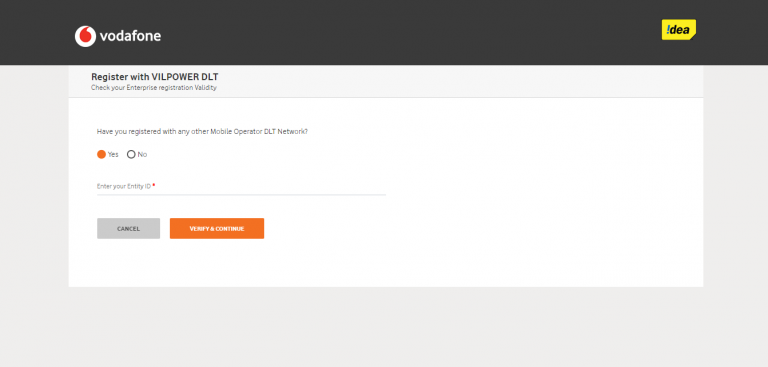
- After clicking on the Next button, another page will get displayed asking whether you have registered with any other mobile operator DLT network.
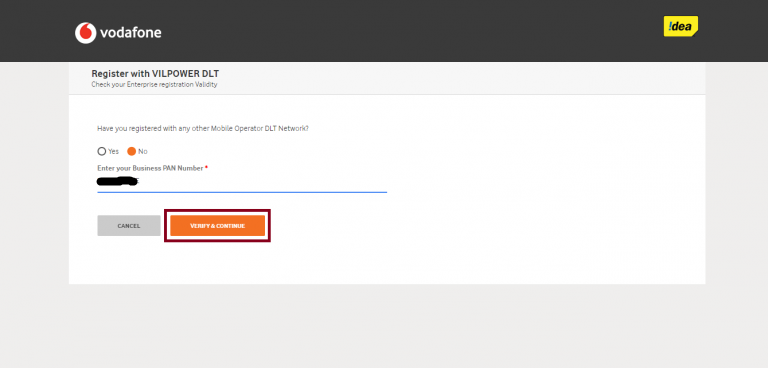
- If you have not registered with any other DLT mobile operator then select the ‘No’ button and then you will be asked to enter your Business PAN number. Enter your PAN card number and then click on the button ‘Verify and Continue‘.
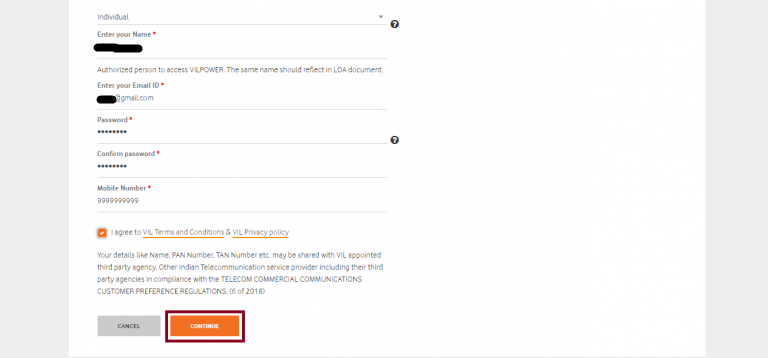
- After clicking on the Verify and Continue button, next window will appear asking you to sign up for a business account. Here, you need to select your business type, enter your name, email id, password, mobile number and then click on the ‘I agree to VIL terms and conditions’ checkbox.
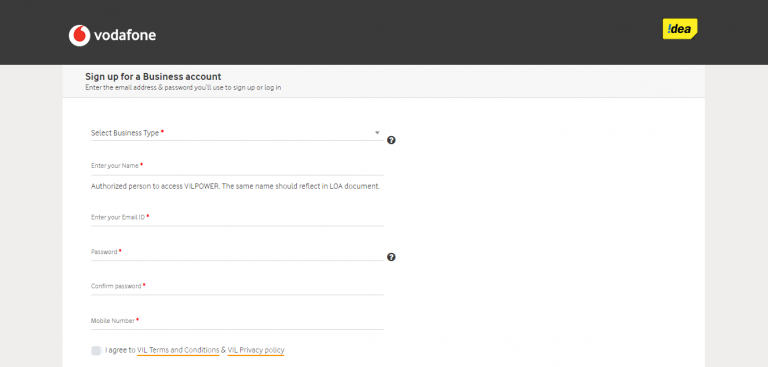
- After entering all the details, click on the Continue button to proceed with the registration.
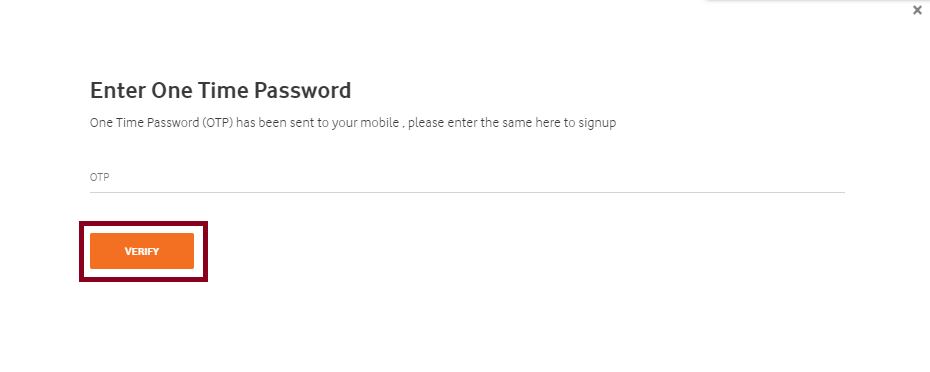
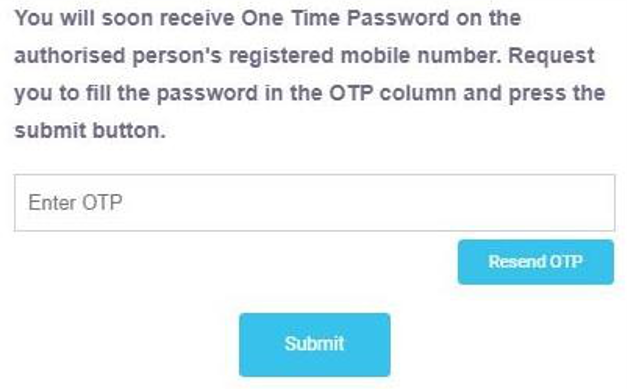
- As you click on the Continue button, OTP will appear on your registered mobile number. Enter the OTP and click on the Verify button.Vodafone DLT OTP verification page.
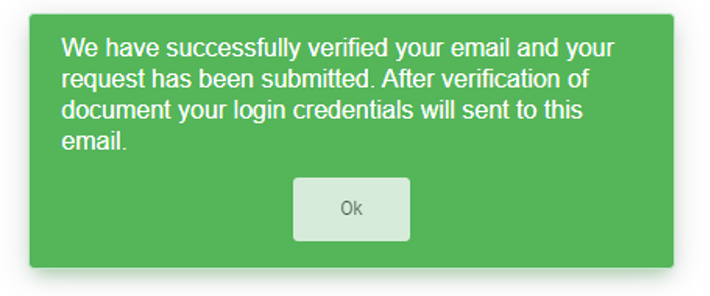
- A verification link will be emailed to you. You need to click on the link in your email inbox to complete the sign up process.Vodafone DLT email verification.
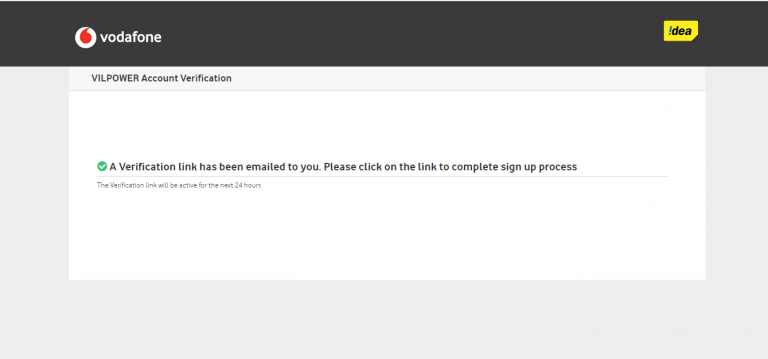
- The verification link will be displayed in your email inbox as shown in the image below. Click on the ‘Confirm Email Address‘ box to complete your account verification.

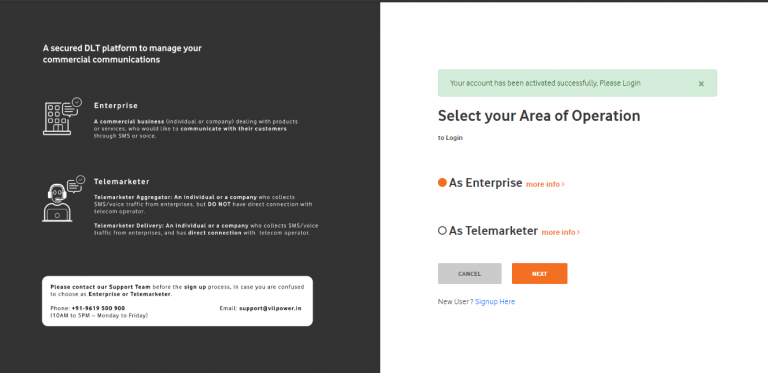
- As you click on the ‘Confirm Email Address’, a message will be displayed on your screen that ‘Your account has been activated successfully, Please Login’. Select the appropriate option between Enterprise and Telemarketer and then click on the Next button.
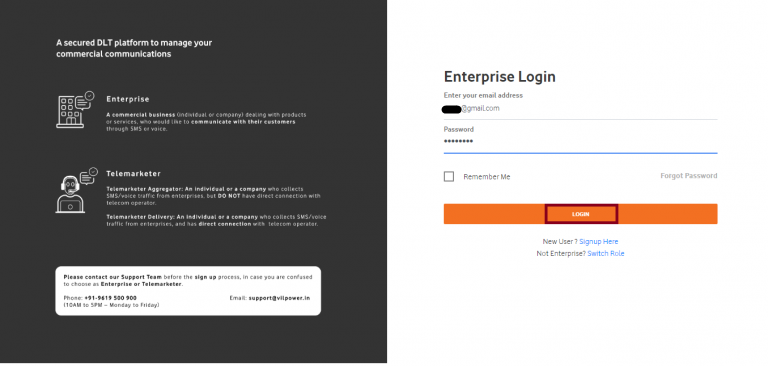
- As you click on the Next button, another window will get opened asking you to enter your email address and password. After entering the details, click on the Login button.
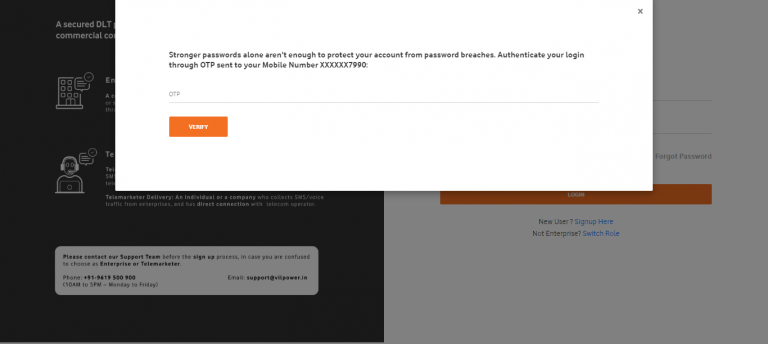
- As you click on the Login button, another window will appear where you need to enter OTP received on your registered mobile number. Enter the OTP and click on Verify.
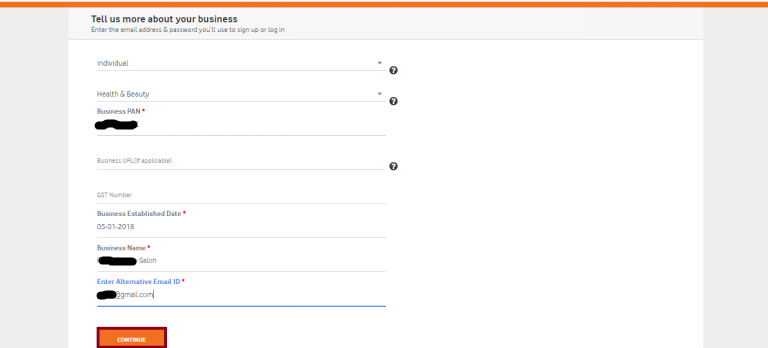
- A window will get displayed where you need to enter your business details. As you click on the, ‘Select Industry Type’ field, a number of options will get displayed such as Individual, Sole Proprietorship, Partnership, Private/Public Company Ltd, etc. In the next field, different categories of sectors like Finance, Retail, Health, etc. will be displayed. Select your Business type and Industry from the list and then enter further details. After entering your Business PAN card, Business established date, name and alternative email id, click the Continue button.
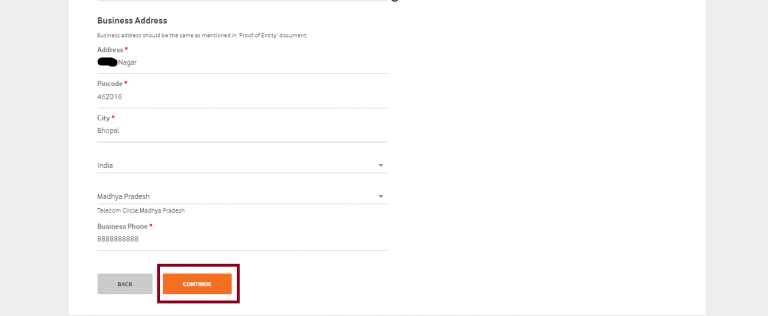
- As you click on the Continue button, another window will get displayed where you need to enter your Business Address details. Enter all the details and then click on the Continue button.
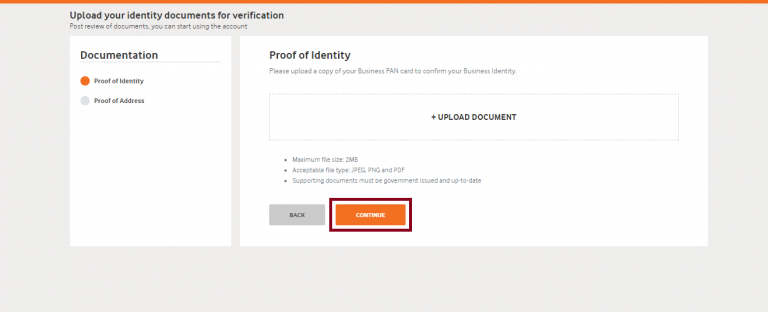
- As you click on the Continue button, next window will appear where you need to upload your identity documents for verification. Click on the Upload Document to attach your PAN Card and then click on the Continue button.
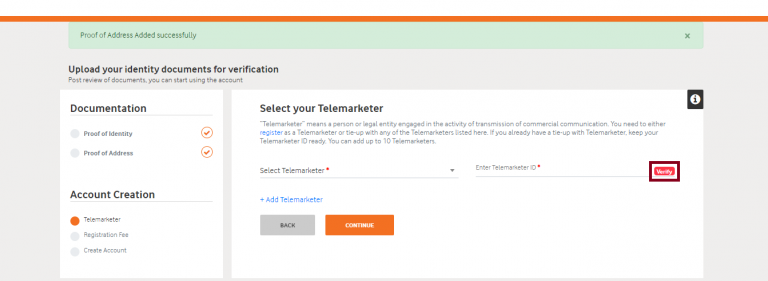
- As you can see, a message will be displayed at the top of the screen that ‘Proof of Identity Added successfully’.
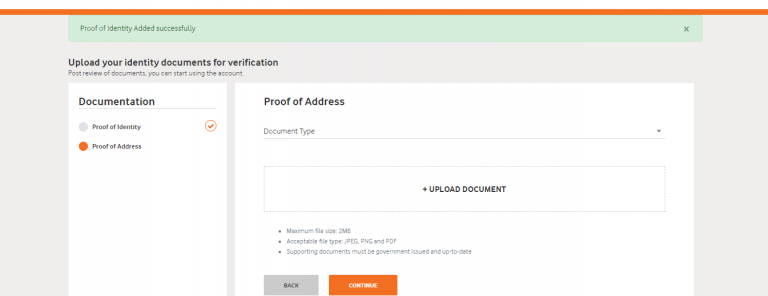
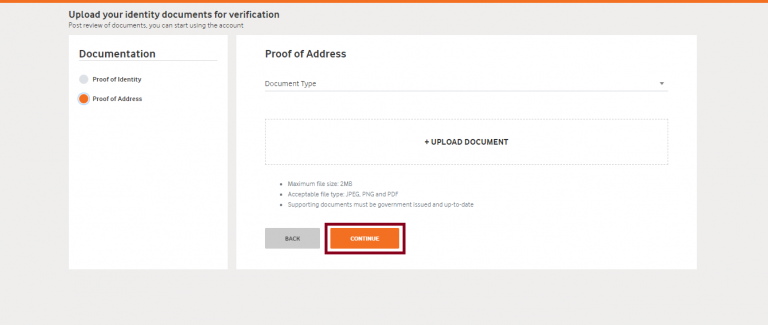
- Next, you need to upload document for the Address Proof. Select the Document Type from the list of options such as Driving License, Voter ID, Passport, attach the document and then click on the Continue button to proceed further.
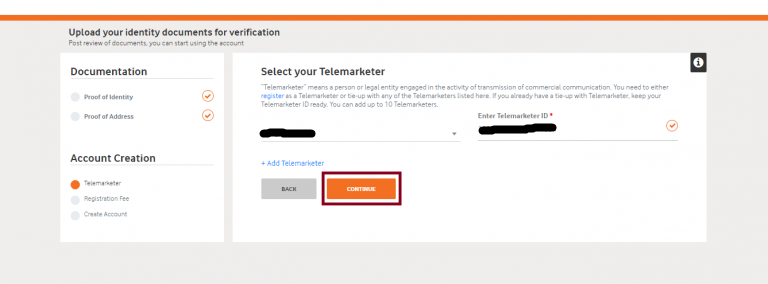
- After you have uploaded the document, a message will appear on the screen that your document is added successfully as shown in the image below. Here, you need to select the Telemarketer(Bulk SMS Service Provider) from which you want to purchase Bulk SMS Service and after entering the Telemarketer ID, click on the Verify button.Address proof uploaded successfully DLT
- Select tsms.allbulksms.in as your telemarketer if you want to purchase Bulk SMS Service from tsms.allbulksms.in. Enter the Telemarketer ID as 11024456300000xxxxx and click on the Continue button.
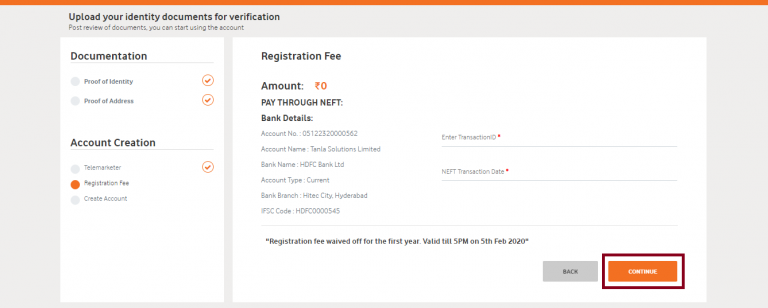
- As you click on the Continue button, you will be re-directed to the registration fee page. Registration charges of INR 5900/- may apply.
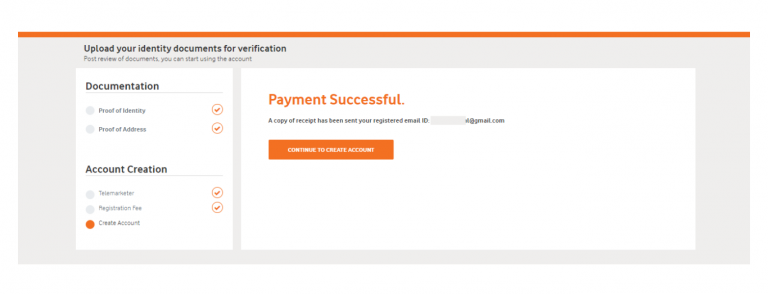
- A message will be displayed on your screen that your payment is successful. Now, click on the button ‘Continue to create account’.Payment Successful page.
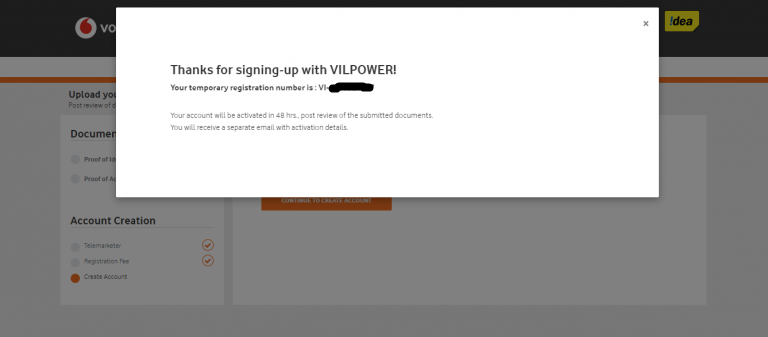
- As you click on that button, a dialog box will be displayed with the message ‘Thanks for signing-up’.
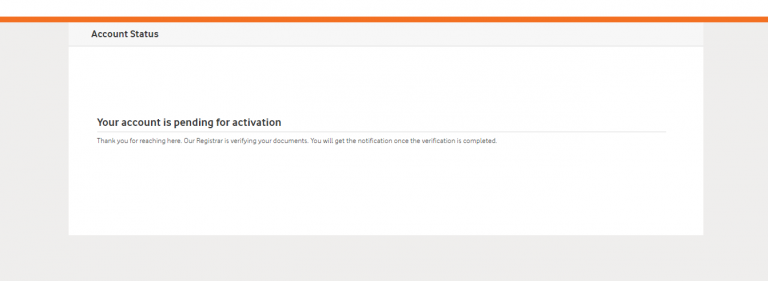
- Your account status will appear as pending for activation and once your documents get verified, your account will get activated.Account pending DLT
Tata DLT Registration Process
In order to register with Tata Telecommunications for DLT, please follow the below steps.
-
Enter the corporate email Id
- Provide valid details of the organization - business PAN, complete address, details of authorized person (mobile no. & email ID)
- Attach/upload the valid proofs for PAN & Proof of address as stated in the details entered
- On successful registration, the details provided & supporting proofs provided for the Entity will be validated by the Principal Entity within 3-7 working days
- Request will be Approved/Sent for Modification/Rejected by the registrar & Entity will be intimated accordingly on the registered email Id
- On approval the Principal Entity will be registered and a unique Entity ID will get generated which can be used for further communications by the PE
- In case of any discrepancy, i.e. missing document or incorrect details, same will be duly intimated on the registered e-mail and mobile number in the defined TAT
- Post Principal Entity activation, each Principal Entity can login to the portal and carry out its functions as per business requirement
- In case the Entity request gets rejected due to deficiency in documents, Principal Entity can re-initiate the request after correction of details
Mandatory documents are as follows:
- Govt. registered entity - PAN or TAN along with an address proof, Letter of Intent / Agreement issued by the Govt. of India or State Govt.
- SEBI registered Entity - PAN, Certificate of registration issued by SEBI and address Proof
- Others, Private or Public Limited - PAN & Address Proof (GST certificate, COAI ...etc.)
DLT Registration with PingConnect (Videocon)
Registration with PingConnect (Videocon)
- Function: To register as a Principle Entity for the first time.
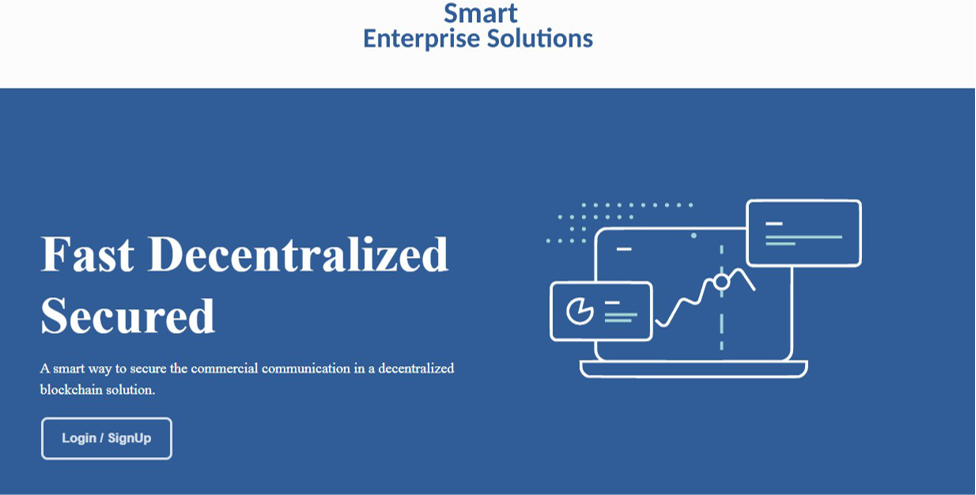
Visit website: https://smartping.live/entity/home.
On the landing page click on “login & Register” button.
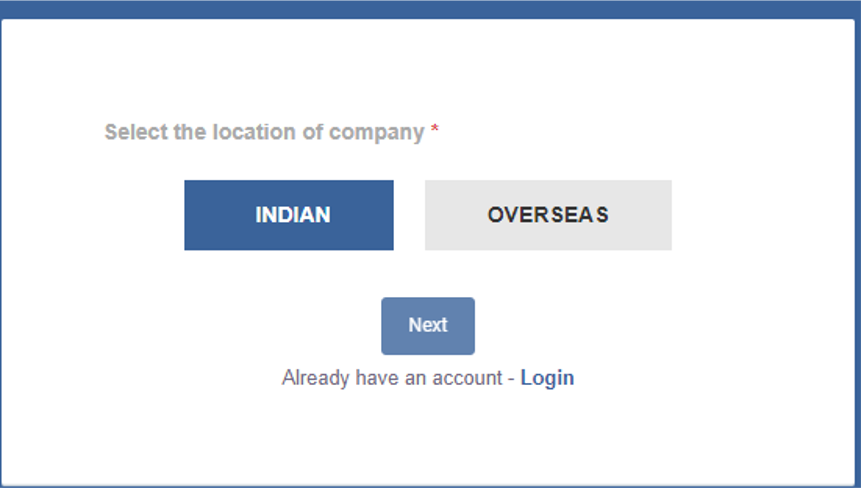
 It will redirect you to another page where you can select your type of operations.
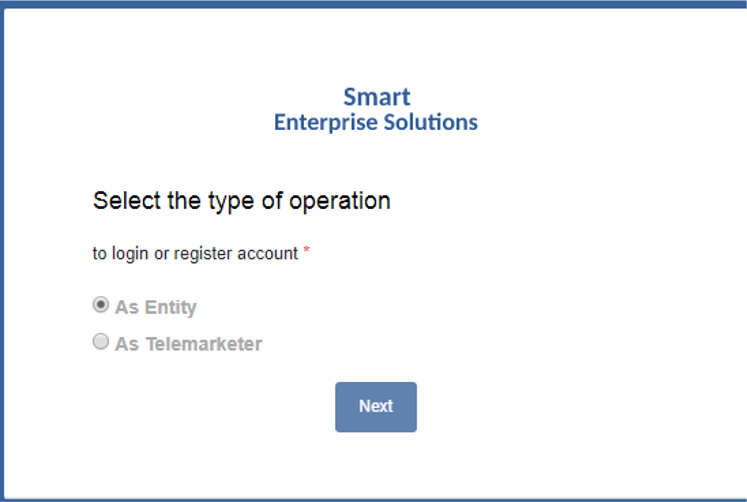
- In that select “Entity”
Once you select the type of option it will redirect you to another page where you have to select the Origin of Entity (Indian or Overseas)
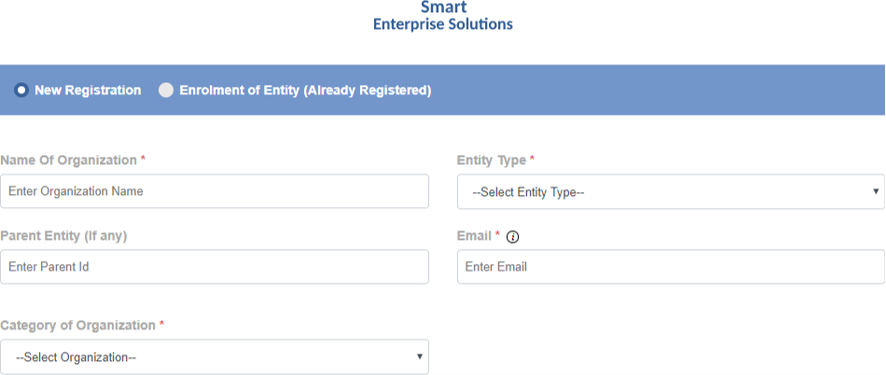
 Upon selection you will be redirected to the actual form where following details needs to be filled.
- Name of Organisation *: Name of the Entity as per records.
- Entity Type *: Type of Entity whether Entity is Private, Government, SEBI approved broker, Public or Others.
- Parent Entity: In this user will fill name of the parent entity, if there is any.
- Email *: Authorised /Official Email ID of the Organisation.
- Category of Organisation *: User will have to choose the category (e.g. Banking, Health (e.g. Banking, Health etc) according to TRAI regulations for which entity wants to register.
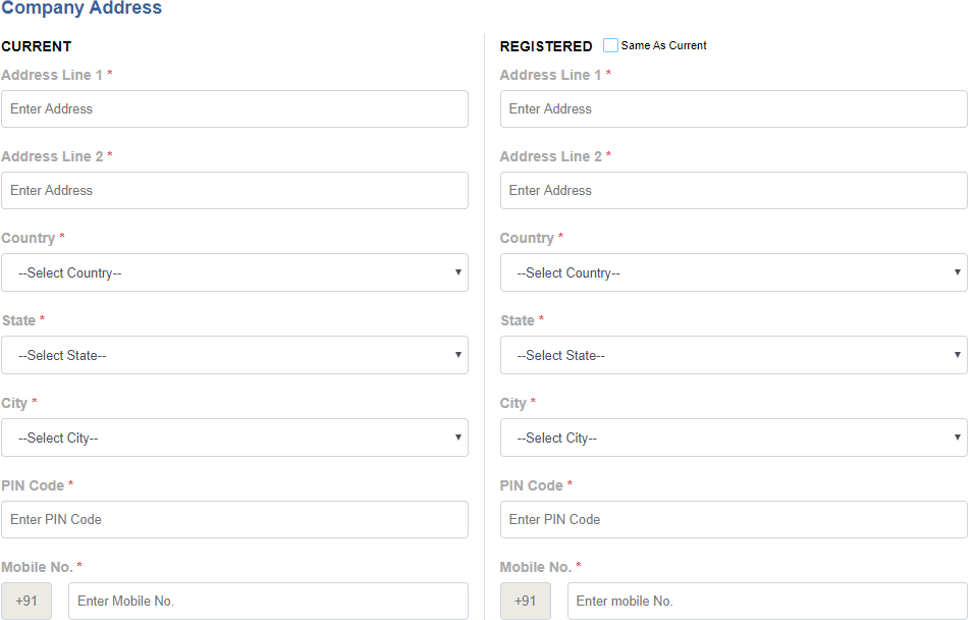
- Company Address *: In this section fill complete current address of the Entity same as per the documents submitted.
- Registered Address*: Fill the complete registered address of entity same as per the documents submitted.
- If both addresses are same then select the “same as current” check box.
- Company PAN *: PAN number allotted by the IT Department to the prospect who wish to register as Principle Entity.
- Upload PAN *: Duly Scanned copy of PAN card with material details (Name of the Entity and PAN CARD number) clearly visible to the reader to be uploaded
- Company CIN/GST/TAN: Fill any of the specified number of the Company.
- Upload CIN/GST/TAN: Duly Scanned copy of CIN/GST/TAN card with material details (Name of the Entity and CIN/GST/TAN number) clearly visible to the reader to be uploaded.
- Proof of identity: Choose any of the specified option i.e. GSTIN/Aadhar or Unique Identity number/Election commission id/ Passport.
- Proof of identity: Duly Scanned copy of proof of identity of the organization with material details (Name of the Entity and Identity number) clearly visible to the reader to be uploaded.
- Proof of address*: Choose any of the specified option i.e. Aadhaar/Unique Identity Number, Election Commission ID, Passport, Electricity Bill (Not Older then 3 month), Telephone Bill (Not Older then 3 month), Lease Agreement/Registered Sale.
- Proof of address*: Duly Scanned copy of proof of address of the organization with material details (Name of the Entity and Address) clearly visible to the reader to be uploaded.
- Other documents: Duly Scanned copy of other documents of the organization clearly visible to the reader to be uploaded.
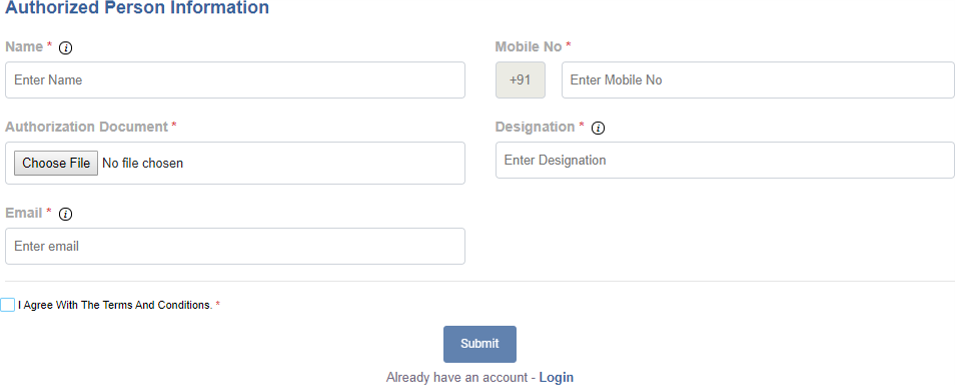
- Authorized Person Information *: Details of the authorised person to operate the portal on behalf of the Principle Entity.

-
Registration Overseas:
- If entity selects overseas the whole process will be same as above just there will be one different required document that is Unique company identification document.
- Unique Company Identification*: Identification number allotted by respective countries department assigned to entity.
- Relevant document*: Duly Scanned copy of the Unique Company Identification number with material details (Name of the Entity and Unique company identification number) clearly visible to the reader to be uploaded.

- Any field with an asterisk (*) is required and must be filled in to register.
-
After filling up the details:
- You will receive a registration email to complete the registration process and validate the mobile number provided.

- Your information will be reflected on the operator module, after verification at operator side. Operator can approve or reject you.
- After approval from operator side, you will receive the credentials on the registered email id to access the portal.
-
Logging in:
- You can access the portal with the credentials. You have to enter your Username And Password details.